Prepare
Emailing participants
Send email to the right audience, personalize it with merge fields, preview per recipient, and understand which emails send automatically.
The Communications view is where you email everyone involved in your parade and grab ready-to-post social content. Emails are organized along your parade's timeline, personalized per recipient with merge fields, and sent to an audience you choose. This guide focuses on email, which is where the decisions are.
There are three sub-tabs: Email, Social, and Activity.
Send an email
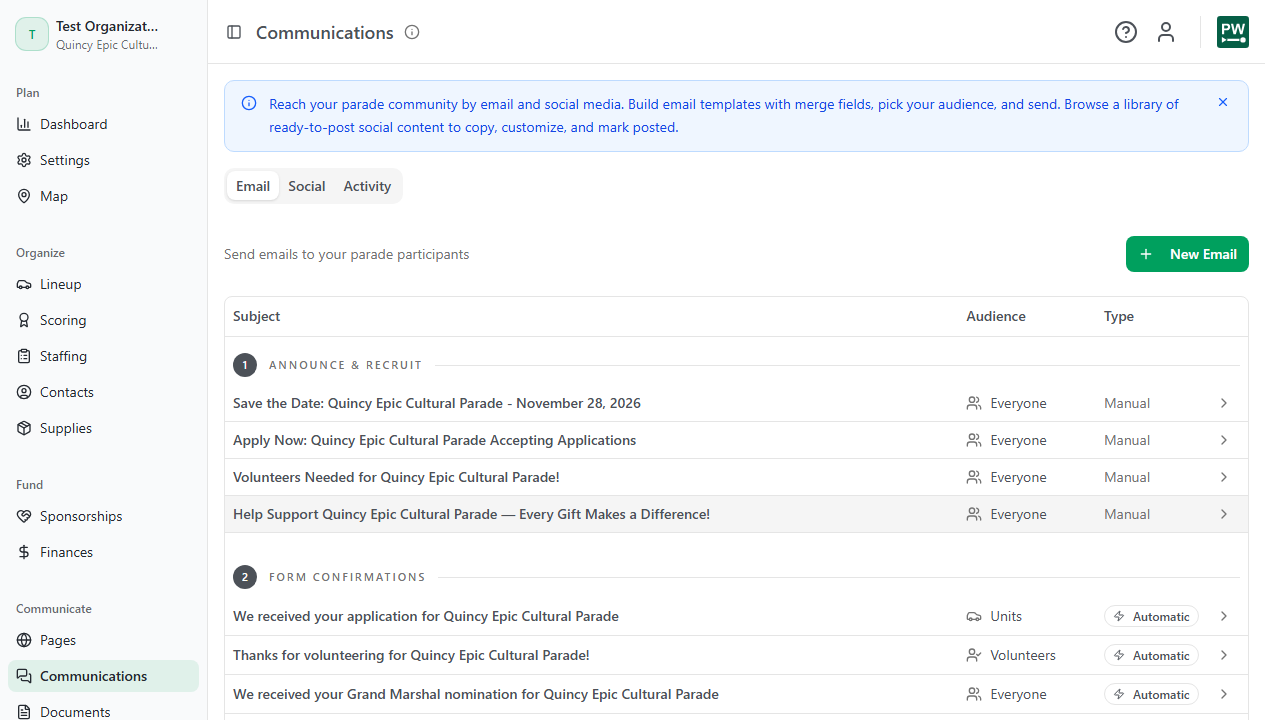
The Email tab lists your templates grouped by stage of the parade (announce and recruit, form confirmations, application decisions, assignments, pre-event logistics, post-event). Each row shows its Audience and its Type, which is either Automatic or Manual (more on that below). Click New Email, or open a template, to start.
Composing happens in three steps: Recipients, then Compose, then Send.
Recipients
Pick an audience. The count next to each shows how many people have an email address versus the total:
- Everyone: your volunteers, units, and sponsors combined, with duplicates removed.
- Volunteers: people assigned to a position. This is worth internalizing: it means assigned staff, not everyone who filled out the volunteer form.
- Judges: judges who have a scorecard link.
- Units: your parade's units.
- Sponsors: your sponsors.
Recipients sort into subscribed, unsubscribed, and "without email." Only subscribed people with an email can be selected, and there's a Select All Subscribed shortcut. Unsubscribed and no-email rows are shown but can't be picked, which is why the selectable count is often smaller than the total.
Compose
Write your Subject and Body. Both accept merge fields, tokens in square brackets like [PARADE_NAME] or [RECIPIENT_FIRST_NAME], that fill in each recipient's real values when the email sends. The editor shows them as green pills.
Set the Timeline Stage so the email files under the right part of your timeline, and use Show branded header to put your parade's logo header at the top.
Toggle from Edit to Preview to see the email with a real recipient's values filled in, and step through recipients one at a time. Always preview before sending; it's the fastest way to catch a merge field that resolves to something awkward.
Merge fields aren't limited to names. List fields can render as bullets, checkboxes, or a table, and there are QR-code fields like
[QR_VOLUNTEER_FORM]and[QR_SCORECARD]that drop in a scannable code. If a token shows as literal text in the preview, it isn't a real field, so check the spelling.
Send
The final step summarizes the subject, audience, and recipient count. Use Send test as to send yourself a copy as a specific recipient first. When you're ready, Send to N asks for one confirmation, then sends. A mass send can't be recalled, so the test-and-preview habit matters here more than anywhere else in the app.
Automatic vs manual emails
Some templates are Automatic: they send themselves when an event happens, like a confirmation the moment someone submits a form, or a decision email when you accept or decline an application. You can edit their wording here, but you don't send them from this screen. The rest are Manual, the three-step send above.
Reset to Template returns a single email to the latest built-in wording and discards your edits to it, so use it deliberately. Save keeps your changes; Delete removes a custom email.
Social and Activity
The Social tab is a library of ready-to-post content you can copy, customize, and mark as posted. It doesn't post for you; it saves you writing from scratch.
The Activity tab logs the emails you've sent, so you can confirm a blast went out and see the details of any message.